posted
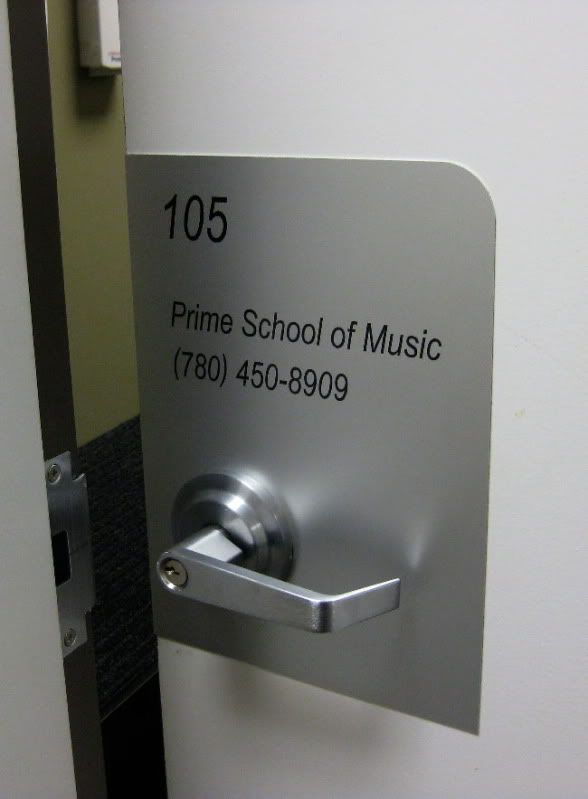
Here's a couple of jobs we installed today... We cut the metal plaque out on our Sabre. The lettering is vinyl, to allow for easy changes...
The door "works" had to be taken apart so the plaque could be installed.
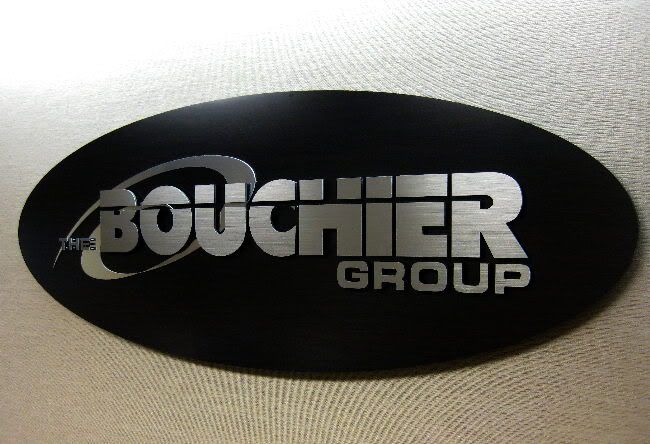
Either I have to stop using metals in my jobs, or I need to be a better photographer. This is an MDF Light substrate with Arborite plastic laminate to match the reception desk. The oval is 1.5" thick. The "swoosh" Is polished chrome on 3mm grey PVC mounted flat to the backer. The letters are brushed stainless on 6mm Black PVC. The letters are pinned off the swoosh and the background. The oval is about 5' wide. The wall has a textured wall paper...
As always, if you have any questions, I usually have some production shots to clarify any of our techniques.
posted
Duncan - that is very nice! I'd like to see what method you used to get your 'offsets' positioned so that the letters were so perfectly aligned.
I've only done one job where I've used offsets... with Gemini Letters. I used their spacing guide for the most part, and they didn't turn out nearly as nicely aligned as I'd hoped.
Also - did you cut out the 'brushed aluminum' Boucher letters yourself?
Nice work!
-------------------- Todd Gill Outside The Lines Potterville, MI Posts: 7792 | From: Potterville, MI | Registered: Dec 2001
| IP: Logged |
posted
Hey Todd and Brian, here's a couple of production pics that will help...
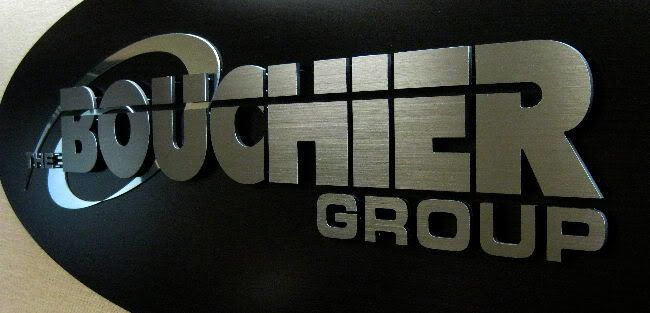
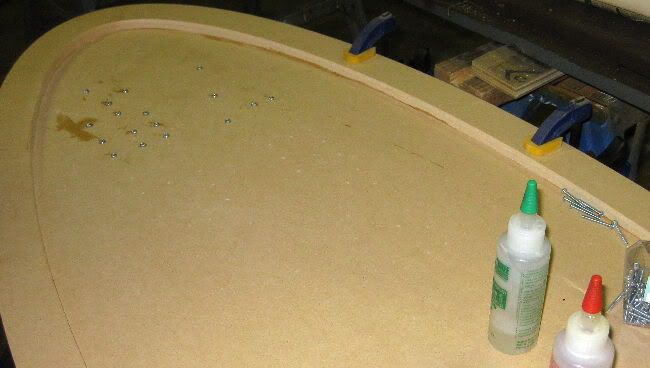
First the laminate was bonded to 1/2 MDF with 3M adhesive spray. We buy it in 25 lb. tanks, and there is a dedicated spray gun on a hose. I'll check the 3M number at the shop and post that info later for Brian. The holes and oval shaped were routered at the same time. We routered a second piece of MDF, but only a 3" wide oval to increase the edge to 1" but not add significant additional weight. This was glued on with Titebond III. From the backside, we inserted #6 machine screws with a dab of epoxy to anchor them.
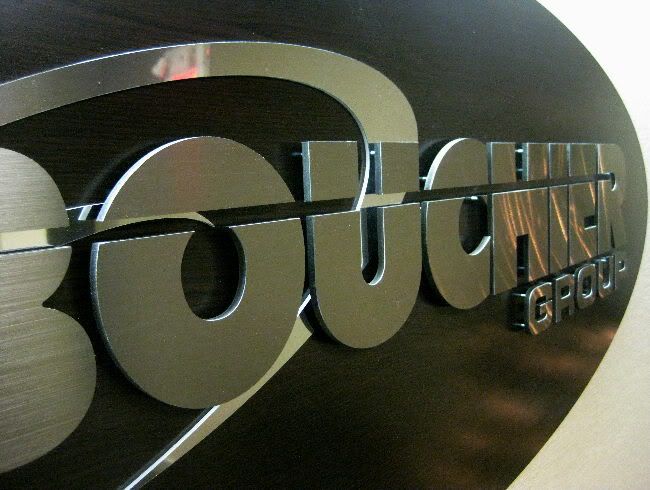
The letters are "Fake" Brushed Stainless finished aluminum laminated to 6mm Black Sintra with spray adhesive. We router them from the backside, so we can drill the stopped holes to accept the pins at the same time. Everything is from the same file, so everything lines up perfectly. The swoosh was "fake" polished chrome finished aluminum on 3mm grey sintra, mounted flat to the backer. Holes had to be made to allow the pins for the letter to protrude. Again it lined up perfectly as it was from the same computer file. Final assembly was a dab of epoxy on the pin tips and place the routered letters on them. Every thing lines up and is uniform. Hope this helps.
posted
We do it both ways. On the face is less expensive for customer changes down the road when there is a background colour on the blades like this one. On clear acrylic blades, we put the graphics on the 2nd surface. Come to think of it I've never heard of vandalism on this type of sign either way.


![[Applause]](graemlins/applause.gif)


 Printer-friendly view of this topic