|
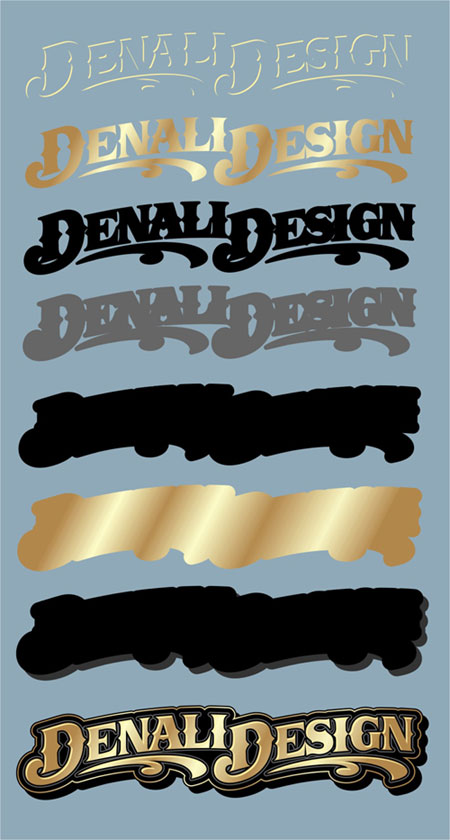
Playing with gold fills.

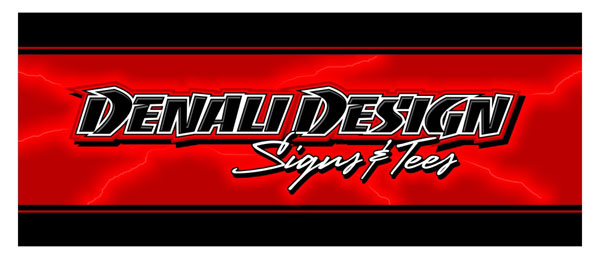
Oh-NO red & black!
All
work (even the shadowing) done in Corel Draw 12 the only exception was
the bevel effect on the medalion/fan, I used the trial version of Corel
Draw X3 for that. The only time I used Photoshop was to use the save for
web command.
Rudy,
Yes I like X3 so far, I'll be putting it through its paces for the next
14 days! I have used Corel Draw since V.1 and have never bought
back-to-back upgrades, but I like this one.
Easy-peasy on the background effect.
1. Draw squiggly lines.
2. Add Dropshadow effects to lines & grouped copy.
3. Mix well.
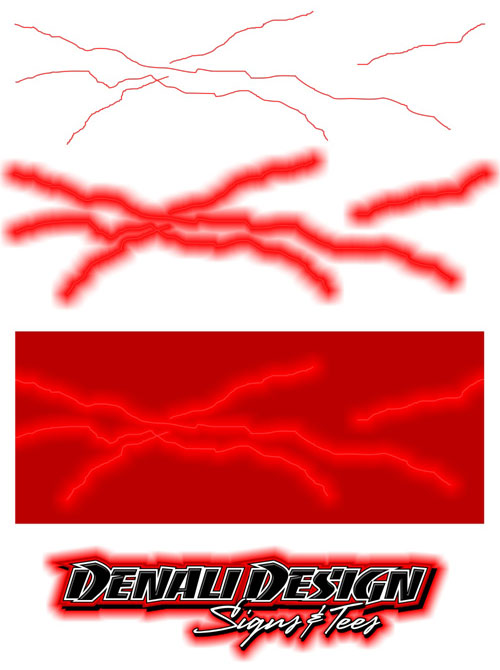
Here are the
steps, hope it makes sense.
Here are the panel parts.
I haven't figured a better cheat to mask the outer drop shadow but you
get the idea it's all in the layer order.

The
highlight steps.
1. Inline contour the original text.
2. Duplicate and offset the contour layer.
3. Trim.
4. Place trimmed onto the original text.
Voila!
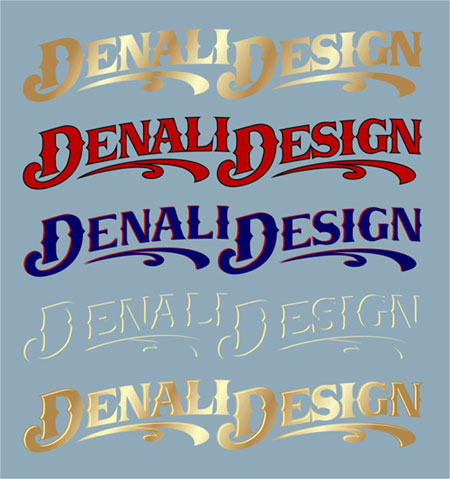
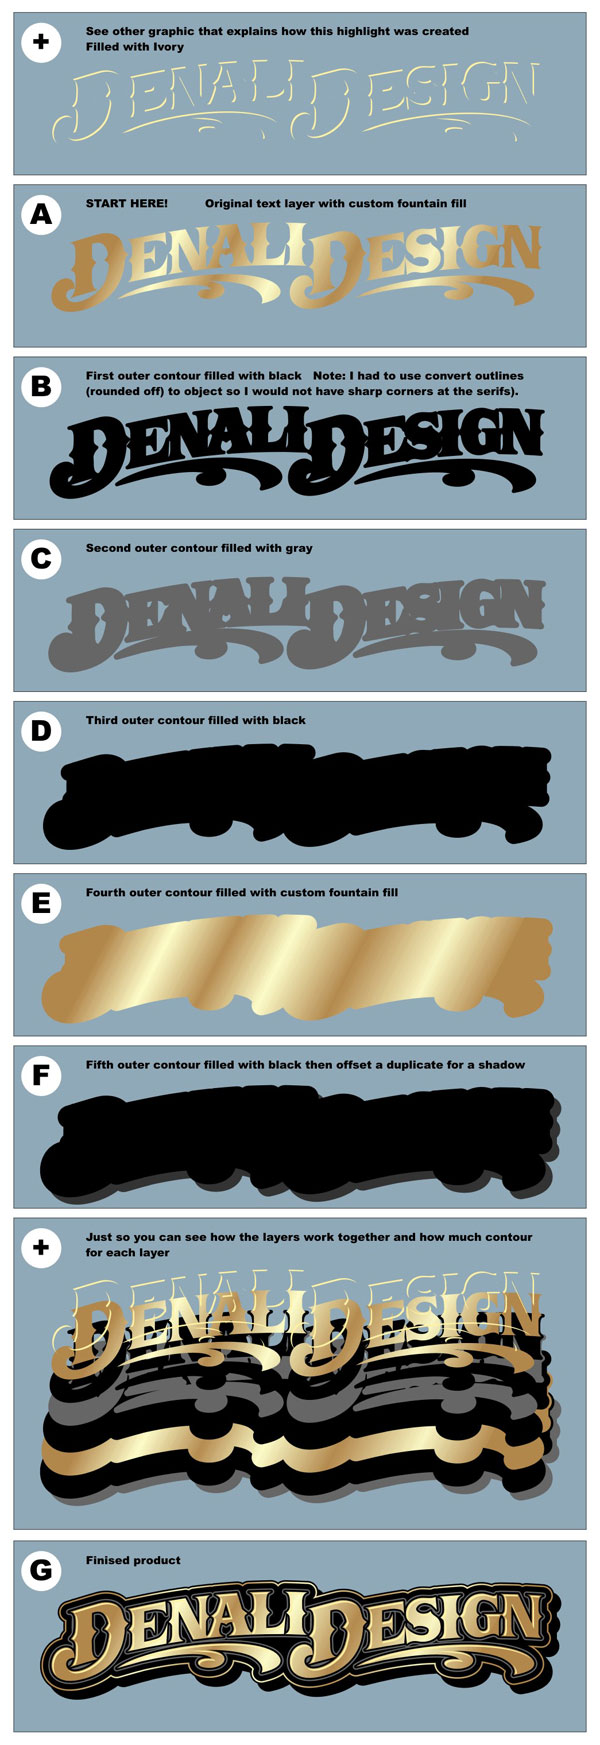
OK,
I've had a few emails asking for a better explanation of the logo
portion so hopefully this shows a little more clearly the steps
involved.
|